In chapter 3 of Python Tutorial, we will learn about Lists
Lists, like arrays, can store several items in a single variable. Lists is a built-in data type in Python for storing collections of data.
Lists are mutable, which means we can change their elements after they have been formed. The comma (,) and square brackets [enclose the List’s entries] function as separators.
Tuples and strings are similar data types. We will not cover these data types in this chapter 3 of Python tutorial but, we will learn about them in upcoming tutorials.
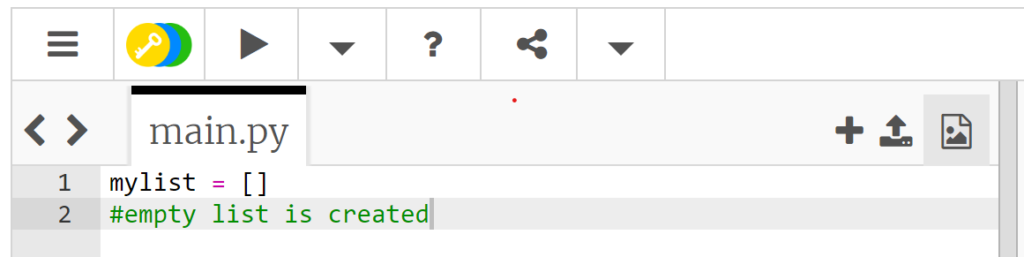
Here is an example of how a list is created:
Now, I can add variables to the list by typing inside the brackets or by using the append() method in Python. Let’s look at the example:
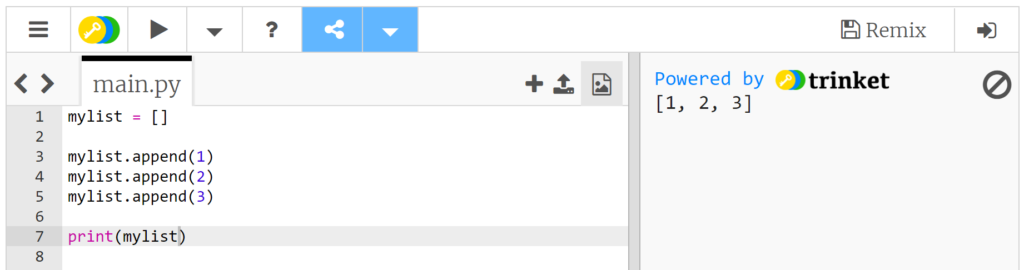
As you can see in the above example, I added variables (1,2,3) to empty list using append() method and printed out the output after appending the variables to the list. Please remember that we can also add words for example “apples”, “grapes”, “oranges”, as variables to the above list using the append() method.
The append() method appends an variable to the end of the list.
Moving on, lists can be iterated over in a fairly simple way i.e., if you want to go over each variable in the list and print out each variable one by one.
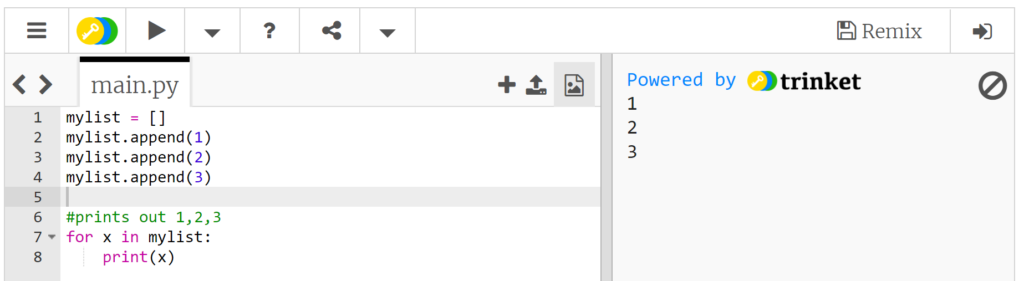
In the above example, we used for loop to access each variable in the list. We can also access each variable in the list using Indexing.
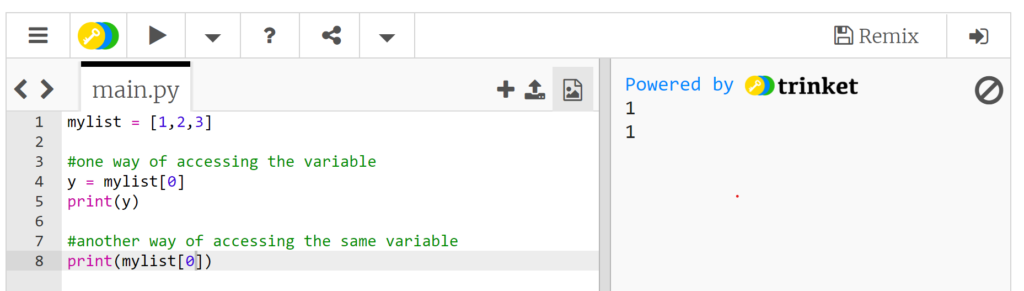
The index runs from 0 to length-1. The first element of the list is kept at index 0; the second element is placed at index 1, and so on.
Hence, in the above example, to access first element, we wrote it as mylist[0] and to access the second element, it will be mylist[1] and so on.
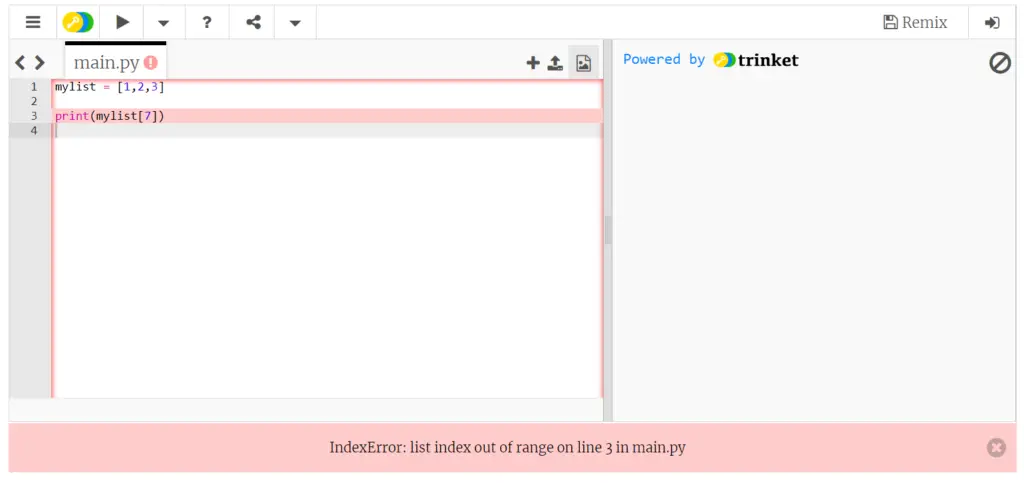
Accessing an element or an index which does not exist generates an exception (an error).
Assignment:
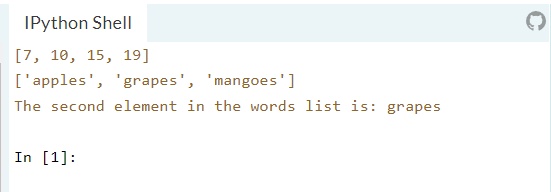
In this assignment, using append() method, add numbers 7, 10, 15, 19 to numbers list and add words “apples”, “grapes”, “mangoes” to words list
Also, access the second element in the numbers list and words list using the Indexing. Note that the index is zero-based, so if you want to access the second item in the list, its index will be 1.
In the below IDE, make changes to the code and click “Run” to execute the code.
If you are stuck, you can click on “Solution” and, then click on “Run” to execute the code successfully. Please use the “Solution” option only after giving your best shot at resolving the assignment. Good Luck!
        numbers = []
        words = []

        #write your code here. I am appending the first element as an example for you!
        numbers.append(7)


        print(numbers)
        print(words)
        print("The second element in the words list is:", words[1])
        numbers = []
        words = []

        #write your code here. I am appending the first element as an example for you!
        numbers.append(7)
        numbers.append(10)
        numbers.append(15)
        numbers.append(19)


        words.append("apples")
        words.append("grapes")
        words.append("mangoes")


        print(numbers)
        print(words)
        print("The second element in the words list is:", words[1])
Expected Output:
I am providing blank IDE below. Please use it for your practice and get better at coding:
That brings to the end of chapter 3 of Python tutorial, see you in the next tutorial!!!
By the way, if you haven’t installed Python and Pycharm IDE on your Windows laptop, you can visit the below links to learn on how to install and configure/install Python and Pycharm IDE on Windows OS. This might be helpful in understanding the Python language easier.
How to Install Python 3 and Pycharm IDE on Windows
How to configure Pycharm IDE and “Run” your first Python 3 program
For your reference, to download Pycharm IDE, visit below link:
https://www.jetbrains.com/pycharm/download/?section=windows
However, if you don’t want to go through installation process, you can practice your learnings on this page itself by using integrated Python IDE above.
If you have any questions or comments about chapter 3 of Python tutorial, please let us know in the comments section below.